How to Print a Test Page on Any Printer?
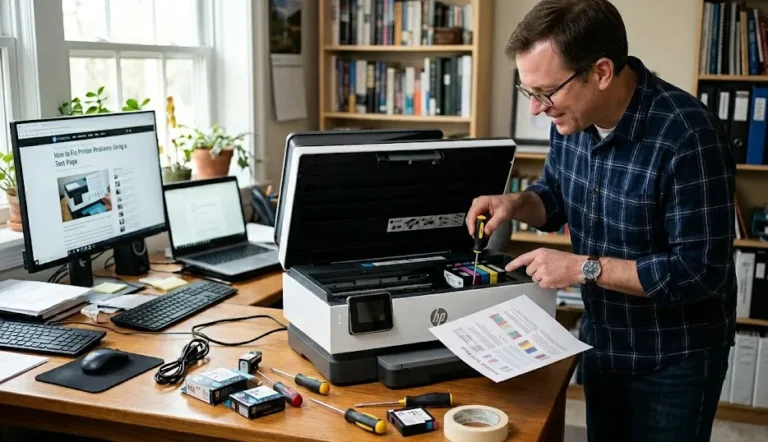
Printing a test page helps you to identify your printer’s performance. It also assists you in checking communication between the printer and the computer. A print test page displays graphics, text, and color blocks to figure out if your printer is having any kind of mechanical or software issues.
However, I have seen many people face print failures because of incorrect driver settings, blocked ink nozzles, or connection errors. You can detect these problems early using a printer test page and reduce wasted ink and paper.
However, most common printer manufacturers, such as HP, Canon, Epson, and Brother Industries, include built-in test page tools in their devices. Continue reading, and all necessary steps will appear clearly in the sections below.
What Is a Printer Test Page?
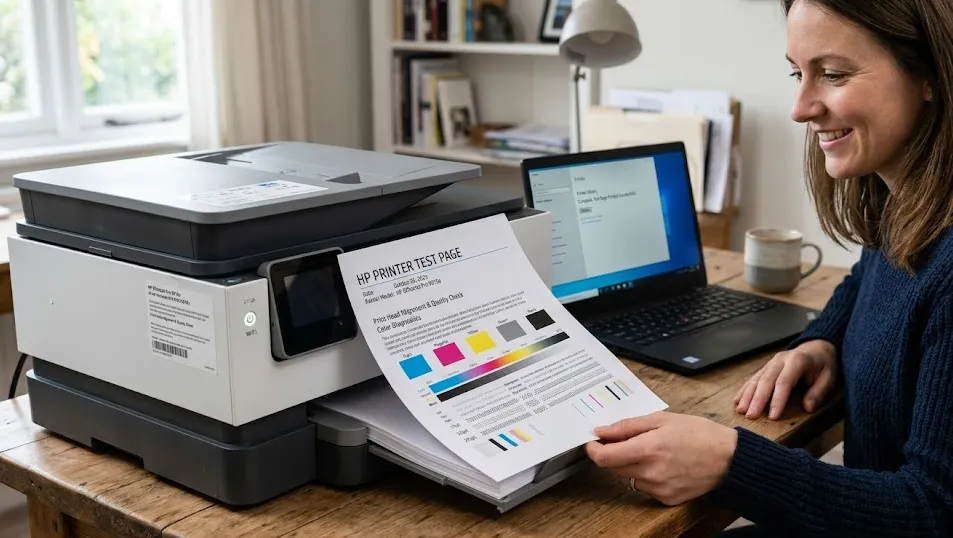
A printer test page is a paper page with different colors and shades to verify the print quality and system communication. It contains colored patterns, black text blocks, and alignment grids. Each pattern or color section diagnoses a specific hardware function.
Here are the major reasons to use a printer test page:
- To be sure that your printer is connected to your computer successfully.
- Find out the quality and distribution of ink or toner.
- Detecting if there are any clogged nozzles or fading output.
- Check out the accuracy of alignment.
- Diagnose software driver issues.
Note: Inkjet printers typically use CMYK color profiles. CMYK stands for Cyan, Magenta, Yellow, and Black. However, laser printers print grayscale text and alignment marks.
Requirements Before Printing a Test Page
Before you test your printer, you need to have some basic settings and stuff ready. Here are the things that you need to have ready.
- Make sure your printer is connected to your computer using a USB cable or a wireless network.
- Paper loads correctly into the paper tray.
- Your printer’s power indicator is active.
- Keep the Ink or toner levels at the minimum threshold.
- You have installed your printer drivers correctly on your computer.
Note: Make sure you are using standard paper sizes, such as Letter (8.5 × 11 inches) or A4 (210 × 297 millimeters). Incorrect paper size selection can produce alignment errors.
How to Print a Test Page Using Our Service?
We offer a free online print a test page service. You can visit our website and check your printer’s performance. Here are the steps to follow:
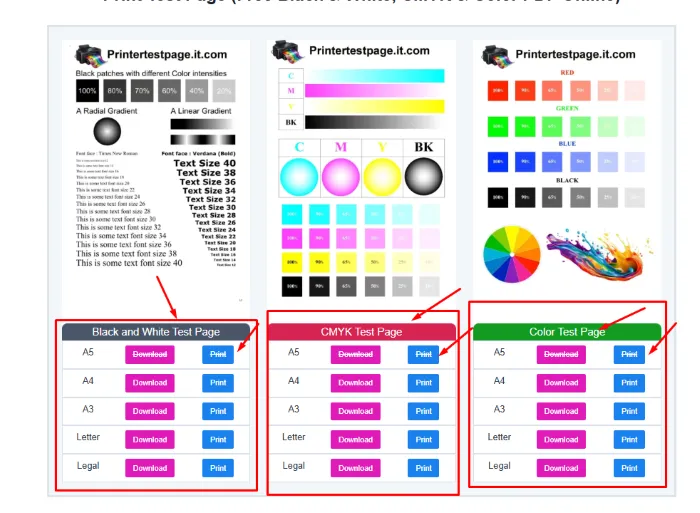
- Go to our Printer Test Page homepage.
- Now choose your preferred printing test page, such as black and white, color, or CMYK.
- Click on the “Print” button and get your printer command ready on your computer.
- You can also download the PDF file of the printer test page and then follow these steps:
- Open the PDF using a viewer application.
- Press Ctrl + P or Command + P to open the print dialog.
- Select the correct printer from the list.
- Click Print to begin printing.
- Get your printed paper and check out for issues.
How to Print a Test Page on Microsoft Windows?
For Microsoft Windows, you need to access the printer properties. However, Windows has a built-in test page feature for all the printers connected to the computer.
Follow these steps to print a test page on Windows:
- Open the Control Panel from the Start menu.
- Select Devices and Printers from the Control Panel menu.
- Locate the installed printer from the device list.
- Right-click the printer name to open the context menu.
- Select Printer Properties from the options list.
- Click the Print Test Page button in the General tab.
- Wait 10 to 30 seconds for the printer to start printing.
Now Windows will display a notification after printing finishes. If you get a successful printed page, you should know that your printer is connected correctly to your computer.
How to Print a Test Page on macOS?
Now we will find out how to print a test page using macOS.
- Open System Settings from the desktop menu.
- Select Printers and Scanners from the sidebar.
- Click the installed printer from the device list.
- Open Printer Options or Utility settings.
- Select Print Test Page from the available tools.
- Wait until the printer produces the test output.
Note: macOS may label the test function as Printer Utility or Maintenance Page, depending on the printer brand.
How to Print a Test Page from a Printer Control Panel?
Today, we have some printer brands that have a built-in control panel to test your printer. This helps you when computer drivers fail or network connections disconnect.
Follow these steps using the printer control panel:
- Turn on the printer using the power button.
- Navigate to Settings or Maintenance on the printer display.
- Select Reports or Printer Information.
- Choose Print Test Page or Print Quality Report.
- Press the OK or Start button to begin printing.
Modern printers with LCD screens complete this process within 5 to 20 seconds. Older printers may use physical buttons instead of touchscreen controls.
How to Print a Test Page Using Printer Software?
Some printer manufacturers offer utility software for the maintenance of the printer. This software contains the printer test page as well. Here is how to use it.
Examples of manufacturer utilities include:
- HP Smart
- Canon IJ Printer Assistant Tool
- Epson Status Monitor
- Brother ControlCenter
Follow these general steps:
- Open the printer utility software on the computer.
- Select Maintenance or Tools from the main interface.
- Choose Print Test Page or Nozzle Check.
- Click Start to begin printing.
- Review the printed result after completion.
Note: Manufacturer utilities provide additional diagnostics that standard system tools may not display.
Common Problems When Printing a Test Page
You may face some common issues while testing your printer.
- Printer offline status
- Incorrect printer driver installation
- Paper jam inside the tray
- Low ink or toner levels
- Wireless network disconnection
Printer offline status remains one of the most frequent causes. Wireless printers require stable network signals within 10 to 30 meters or 32 to 98 feet.
How to Fix Failed Test Page Printing?
You can fix a “Failed Test Page Printing” issue with these simple steps:
- Restart the printer and computer.
- Verify cable or wireless connection status.
- Reinstall the printer driver software.
- Clean the print head using maintenance settings.
- Replace empty ink or toner cartridges.
- Reload paper correctly into the tray.
Most printers restore functionality after completing one or two of these actions.
Recommended Frequency for Printing Test Pages
Here are the recommended frequencies for printing test pages for different types of printers.
- Home printers: every 14 to 30 days
- Office printers: every 7 to 14 days
- Inkjet printers unused for long periods: every 7 days
- Laser printers: every 30 to 60 days
Regular testing prevents nozzle blockages in inkjet printers and reduces unexpected print failures.