How to Fix Printer Problems Using a Test Page
Working all day with a printer comes with some upsets as well. Sometimes you face ink delivery failures, misalignment, and sometimes you need to tackle some complex mechanical faults. However, when you have a brother like me who can solve your printer problems, you don’t need to worry.
In this guide, I have explained all the fixes to the problem related to printers using a test page. I have used simple and easy language so that anyone can fix their problems. So let’s start the guide.
What is the Role of Printer Troubleshooting Using Test Pages?
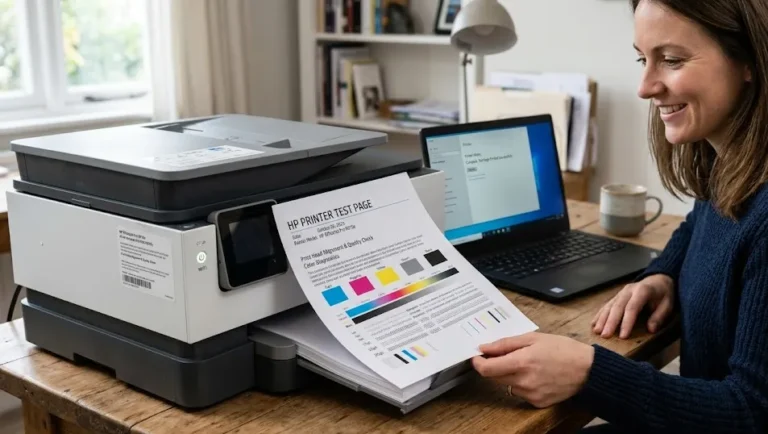
A print test page helps you to accurately identify the issues with your printer. All you need to do is just print a test page from your printer, and it will reveal all the issues on the paper.
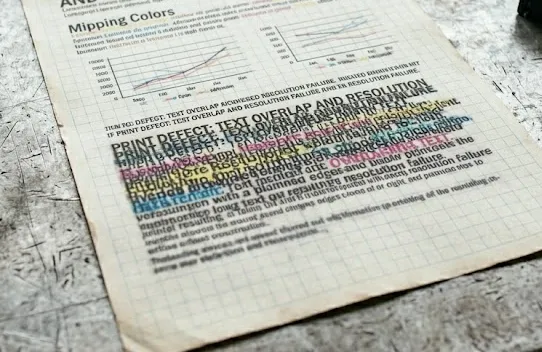
To start the troubleshooting using test pages, you need to analyze structured print patterns that highlight color distribution, line precision, and print density.
A print test page has multiple diagnostic zones that help you to check color correction, tone correction, misalignment, or faded colors, etc.
Most printer test pages include the following diagnostic elements:
- Solid color blocks for cyan (C), magenta (M), yellow (Y), and black (K)
- Fine grid lines for alignment testing
- Gradient bars that show color transitions
- Text samples with small font sizes, such as 6 point to 10 point
- Nozzle pattern grids that display dot uniformity
A perfectly printed test page shows sharp text edges, consistent color density, and uniform spacing across all sections. However, if this is not the case, then there must be a problem with the hardware, cartridge, or configuration.
Identify Missing Colors Using a Printer Test Page
Facing missing colors? The main reason is incomplete ink delivery from one or more cartridges. However, you can find out which ink cartridge is missing the ink flow with the help of the test page.
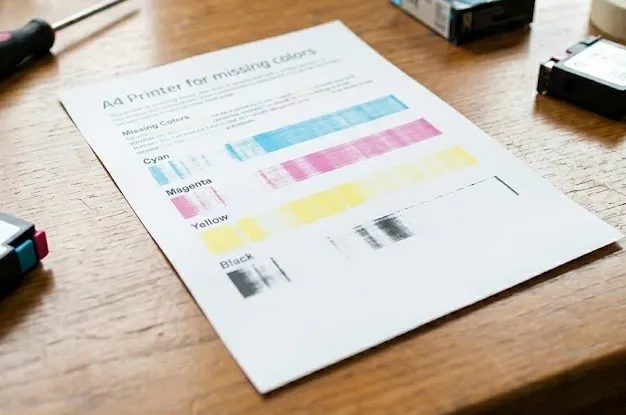
The page will display separated color zones that highlight gaps or blank sections. So you can find the right cartridge and then fix it out.
A missing color defect appears when:
- Cyan, magenta, yellow, or black sections print as blank areas
- Color blocks display faded intensity below the expected density
- Images show incorrect color tones, such as green appearing brown
Common causes of missing colors include:
- Empty ink cartridges with less than 5% to 10% remaining ink.
- Improper cartridge installation.
- Air bubbles inside ink channels.
- Expired cartridges older than 12 to 24 months.
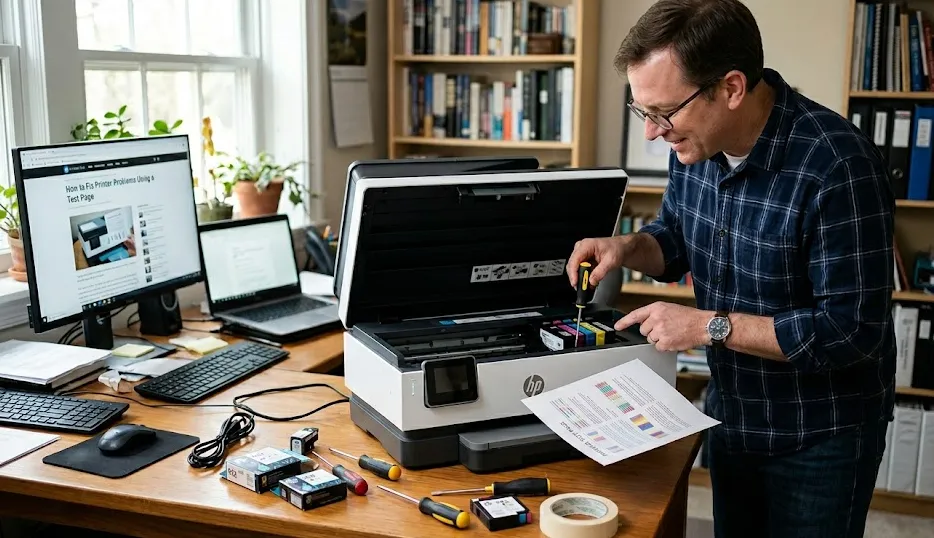
Steps to fix missing color problems:
- Open the printer cartridge compartment.
- Remove the affected cartridge carefully.
- Inspect cartridge ink levels through the printer display or software utility.
- Replace cartridges with ink levels below 10% capacity.
- Reinstall cartridges firmly until the locking mechanism clicks.
- Print a new printer test page to verify color restoration.
Consistent color output across all blocks confirms successful printer troubleshooting using test pages for missing color correction.
Detect Clogged Nozzles Using Nozzle Pattern Sections
Facing line patterns on the printed page? This is due to the clogged nozzles that restrict ink flow, and then you see these lines on the printed page.
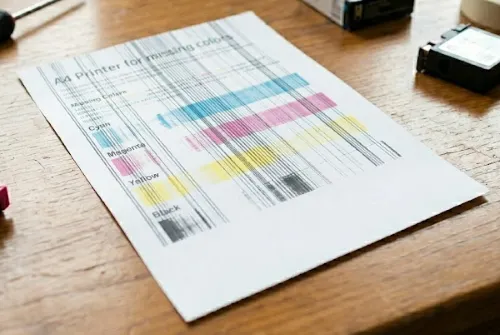
A clogged nozzle defect appears when:
- Lines display broken segments or missing dots.
- Horizontal or vertical patterns appear incomplete.
- Color sections show irregular dot spacing.
Inkjet printers face the issue of clogged nozzles very often. This is because of the inactivity of the printer for a long time.
Inkjet printers commonly experience clogged nozzles after periods of inactivity. Printers unused for 7 to 14 days mostly show this issue due to dried ink residue.
Steps to fix clogged nozzle issues:
- Access the printer maintenance menu from the control panel.
- Select the nozzle cleaning or head cleaning option.
- Run the cleaning cycle once.
- Wait 2 to 5 minutes for the cleaning process to complete.
- Print another test page immediately after cleaning.
- Repeat the cleaning cycle up to 2 to 3 times if broken lines remain.
Excessive cleaning cycles increase ink consumption by 5% to 15% per cycle, so limited repetition preserves cartridge lifespan.
Check Alignment Errors Using Alignment Grids
A printer with alignment issues will create a print with overlapping text, blurred edges, and uneven spacing. Use an alignment test page to verify the issue precisely. The alignment test page has grid-based patterns that display reference lines, and thus, you can identify the error easily.
Alignment errors appear when:
- Text edges look shadowed or duplicated.
- Straight lines appear jagged.
- Vertical alignment shifts between rows.
Steps to correct alignment problems:
- Open the printer settings menu.
- Select the printhead alignment option.
- Print the alignment test sheet.
- Scan or select the best-aligned pattern according to the printer instructions.
- Confirm the alignment selection.
- Print a final test page to verify corrected alignment.
Recognize Streaking Issues Through Pattern Analysis
Experiencing horizontal or vertical lines on your entire printed page? The reason is streaking issues.
Streaking appears when:
- Dark lines appear across light-colored sections
- White streaks interrupt color gradients
- Ink density varies across the same color block
Streaking occurs due to:
- Dirty printheads
- Contaminated rollers
- Low ink pressure inside cartridges
- Paper debris trapped in the printing path
Steps to fix streaking problems:
- Open the printer cover carefully.
- Inspect visible rollers for dust or paper fragments.
- Clean rollers using a lint-free cloth material.
- Run the printer cleaning utility.
- Print another test page to confirm streak removal.
Conclusion
I have explained all the common printing issues and their simple fixes. Now you can fix your printer problems easily. Keep repeating these steps once a week or every 2 weeks to avoid the long run damages. Also, you can ask anything in the comment section if you are facing any additional issues.